2.8. Tableau
2.8.1. Introduction
The tableau integration works with our ODBC driver.
We will guide you through the process of:
installing the driver
adding a datasource
connecting to it in tableau
querying directly to import data
2.8.2. Installation
You can install the driver with our specific ODBC driver setup: qdb-odbc-driver-[version]-windows-64-bit-setup or its 32bit counter part.
You can choose the folder where you want it installed and that’s it!
Caution: Using the uninstaller will automatically remove the driver.
You can check detailed instructions in the installation part ODBC documentation.
2.8.3. Datasource
The best way to create a datasource is to open a powershell window and using odbcconf.exe
odbcconf.exe CONFIGDSN "qdb_odbc_driver" "DSN=quasardb|Driver=qdb_odbc_driver|URI=qdb://127.0.0.1:2836"
It’s especially useful if you wish to connect to a secured cluster:
odbcconf.exe CONFIGDSN "qdb_odbc_driver" "DSN=quasardb|Driver=qdb_odbc_driver|URI=qdb://127.0.0.1:2836|UID=user_name|PWD=user_private_key|KEY=cluster_public_key"
You can add as many parameters as you wish in the secondary string.
Here is a list of the most common parameters, you can either set them in the dsn or the connection string you use.
Parameter
Description
LOGDIR
A path to the folder in which you wish our log file to be stored
URI
A cluster URI you wish to connect to
UID
The username you log in with
PWD
The password associated with the user
KEY
The cluster public key file content
DSN
The name of the datasource
DESCRIPTION
A description of this specific datasource
Any unmentionned field will be filled with a default value.
2.8.4. First connection
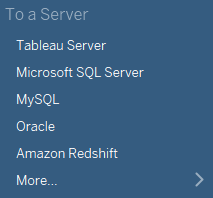
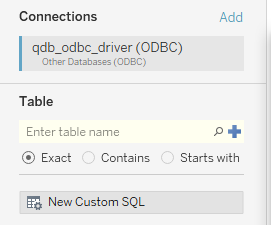
You can then click on Connect -> To a Server -> More… >
Then click on Other Databases (ODBC):

You will need a datasource for this part, you can refer to the windows section of the ODBC documentation.
You can then select qdb_odbc_driver in the DSN field, then click on connect:
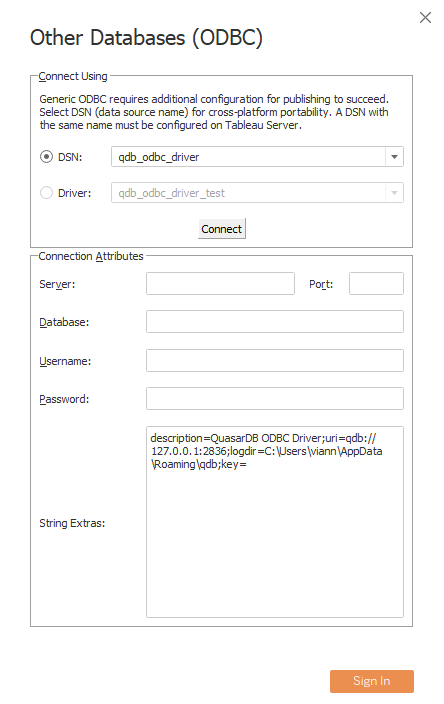
The String Extras will show up after the connection succeeded.
If the server is not running, or the connection fails you will see the following message:
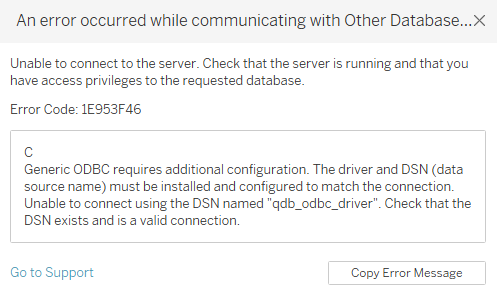
Make sure a server is running, and check the datasource connection details match with your server.
If the connection suceeded, click on sign in to continue.
Well done, you’re now connected to the qdb datasource.
2.8.5. Querying data
In this example we will assume we have a timeseries ts with a column col.
You can create it in qdbsh with the following statements:
$> qdbsh --cluster qdb://127.0.0.1:2836

quasardb shell version 3.9.6 build 6a6663c98 2020-12-02 16:29:16 +0100
Copyright (c) 2009-2020, quasardb SAS. All rights reserved.

Need some help? Check out our documentation here:  https://doc.quasardb.net

qdbsh > CREATE TABLE ts(col int64)

qdbsh > INSERT INTO ts($timestamp, col) VALUES(2020-01-01, 1)

qdbsh > INSERT INTO ts($timestamp, col) VALUES(2020-01-02, 2)
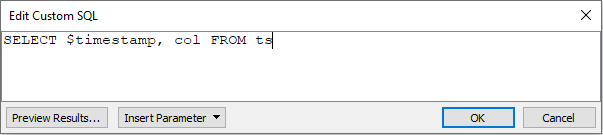
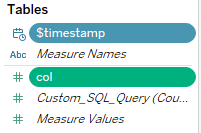
To query data, double-click on the New Custom SQL:
A window shall open, enter the following query:
SELECT $timestamp, col FROM ts
You can click on Preview Results, a window with the following results should show up:

Or click Ok.
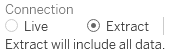
Before going to the sheet, extract the data in the top right corner:
Then go to the sheet in the bottom left corner:

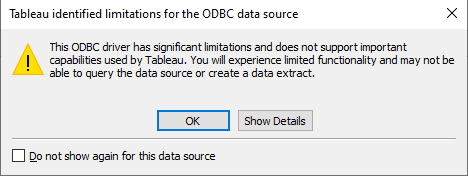
It will ask you to save the extraction, a few warnings may show up, continue to the main sheet.
Example of a warning:
Once in the main sheet, select $timestamp as the x axis, and col as the y axis:
Select this graph type:

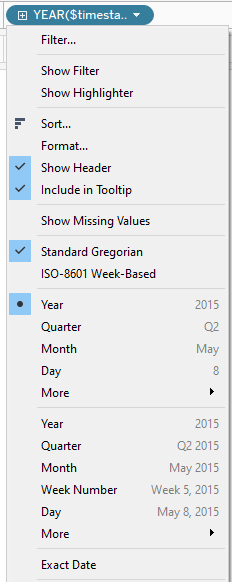
By default the unit for the timestamp is YEAR, click on the downward arrow and select exact date: